Matt Margolis Writes

Share this post

Making the Best Cup of Coffee (Part 3)

www.mattmargolis.com
cccultured

Making the Best Cup of Coffee (Part 3)

Matt Margolis
Mar 4
1
Share this post

Making the Best Cup of Coffee (Part 3)

www.mattmargolis.com
Photo by James Kenny on Unsplash
  • Previous: Making the Best Cup of Coffee (Part 1)

  • Previous: Making the Best Cup of Coffee (Part 2)

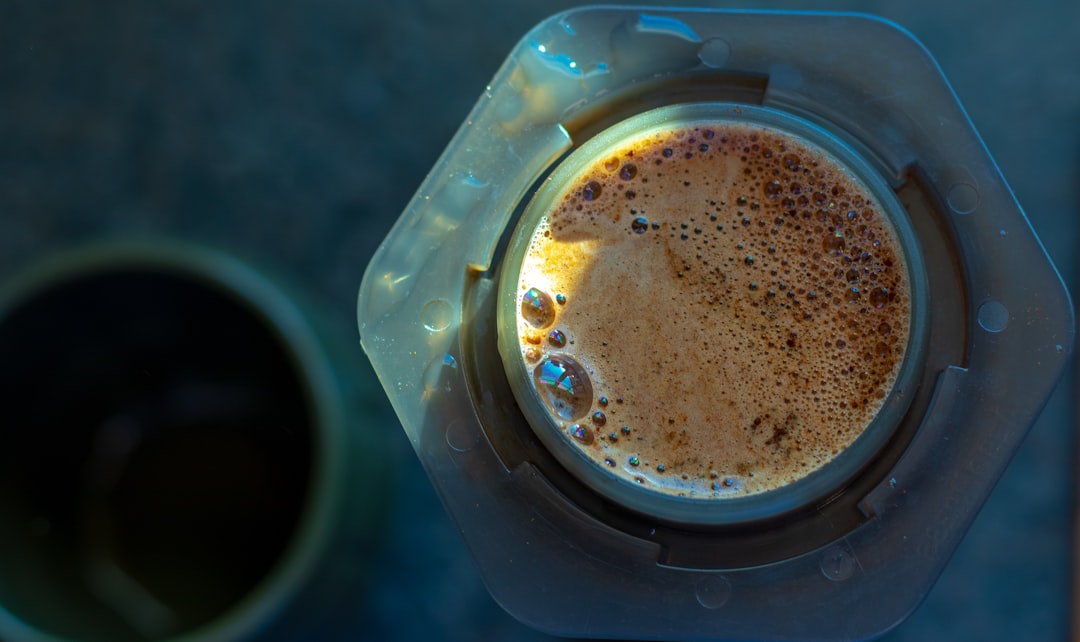
Welcome to the final part of my three-part series on brewing the best cup of coffee. In the previous installments, I discussed coffee selection, grinding, and some of the hardware you’ll need. This part will largely cover the process. Political commentary will be returning on Monday, as I should be recovered enough from COVID at that point.

The AeroPress

Of course, the key to this entire brewing is the AeroPress coffeemaker, which, in my experience, makes the most consistently extraordinary cup of coffee. It was designed to be an efficient way to make a single cup of coffee. A single cup is technically 8 oz, which is too small for me, so I brew 16 oz at a time. So, make sure you have a 16 oz mug or bigger, or adapt the recipe to 8 oz.

Matt Margolis Writes is a reader-supported publication. To receive new posts and support my work, consider becoming a free or paid subscriber.

The process

My go-to method for brewing with the AeroPress is actually not the traditional AeroPress brewing method, but what’s called the inverted method. Here’s a quick video explaining the process.

I like this better than the traditional method because the conventional method has the filter down, which has water dripping through the filter during brewing because of gravity. The inverted method allows all the coffee to remain in the cylinder before you plunge.

So, as your 16 oz of water is being heated to 205° F, you can stick the plunger piece of your AeroPress into the chamber—roughly where the number 4 is.

Put your 30g of ground beans into the inverted cylinder. Then give it a tap to even out the beans in the chamber. Then get a coffee filter, place it into the filter cap, and run it under water, so the filter stays in place. Then, once the water in the kettle is ready, add enough hot water into the AeroPress to get the grinds wet. Wait 30 seconds, then stir gently.

After 30 seconds, fill the remaining area of the AeroPress chamber with water and then wait 90 more seconds. Screw the filter cap (with paper filter) on tightly, then carefully turn over onto a sturdy mug and plunge. Total brewing times should be approximately 2 minutes. It should not take an incredible amount of force to plunge your coffee. At this point, you’ve brewed espresso-strength coffee.

Typically, with 30g of beans, you won’t have enough water brewing in the AeroPress to make your entire cup, so you add that afterward. If you premeasured your water, you can add the rest from the kettle directly into your mug. If your mug is too small, use a larger heat-resistant measuring cup, then pour it into your mug (or mugs if brewing cups for multiple people).

In the end, you’ll have a rich, flavorful cup of coffee that lacks the bitterness people have come to associate with coffee, which is typically due to the longer brewing methods that can over-extract flavor from the beans.

There is room for experimentation with this process, as many AeroPress users tinker with grind coarseness, water temperature, and brewing time, but I’ve found I like the most.

So there you have it. If you’re looking to enhance your at-home coffee brewing, the AeroPress is what I recommend. If you give it a try, let me know how it goes!

Share

Share this post

Making the Best Cup of Coffee (Part 3)

www.mattmargolis.com
Comments
TopNewCommunity

No posts

Ready for more?

© 2023 Matt Margolis
Privacy ∙ Terms ∙ Collection notice
Start WritingGet the app
Substack is the home for great writing